Rate Plans
Introduction to Rate Plans
Rate Plans in Cloverhound Cloud allow administrators to organize and manage different pricing strategies for outbound calls. Each rate plan acts as a container for individual rates that define call costs based on dial patterns, time, and date. These plans can then be assigned to trunks for accurate call cost calculation.
With this feature, organizations can maintain flexible billing structures and ensure that call costs are applied correctly depending on the destination and time of the call.
Creating a Rate Plan
To create a new Rate Plan:
-
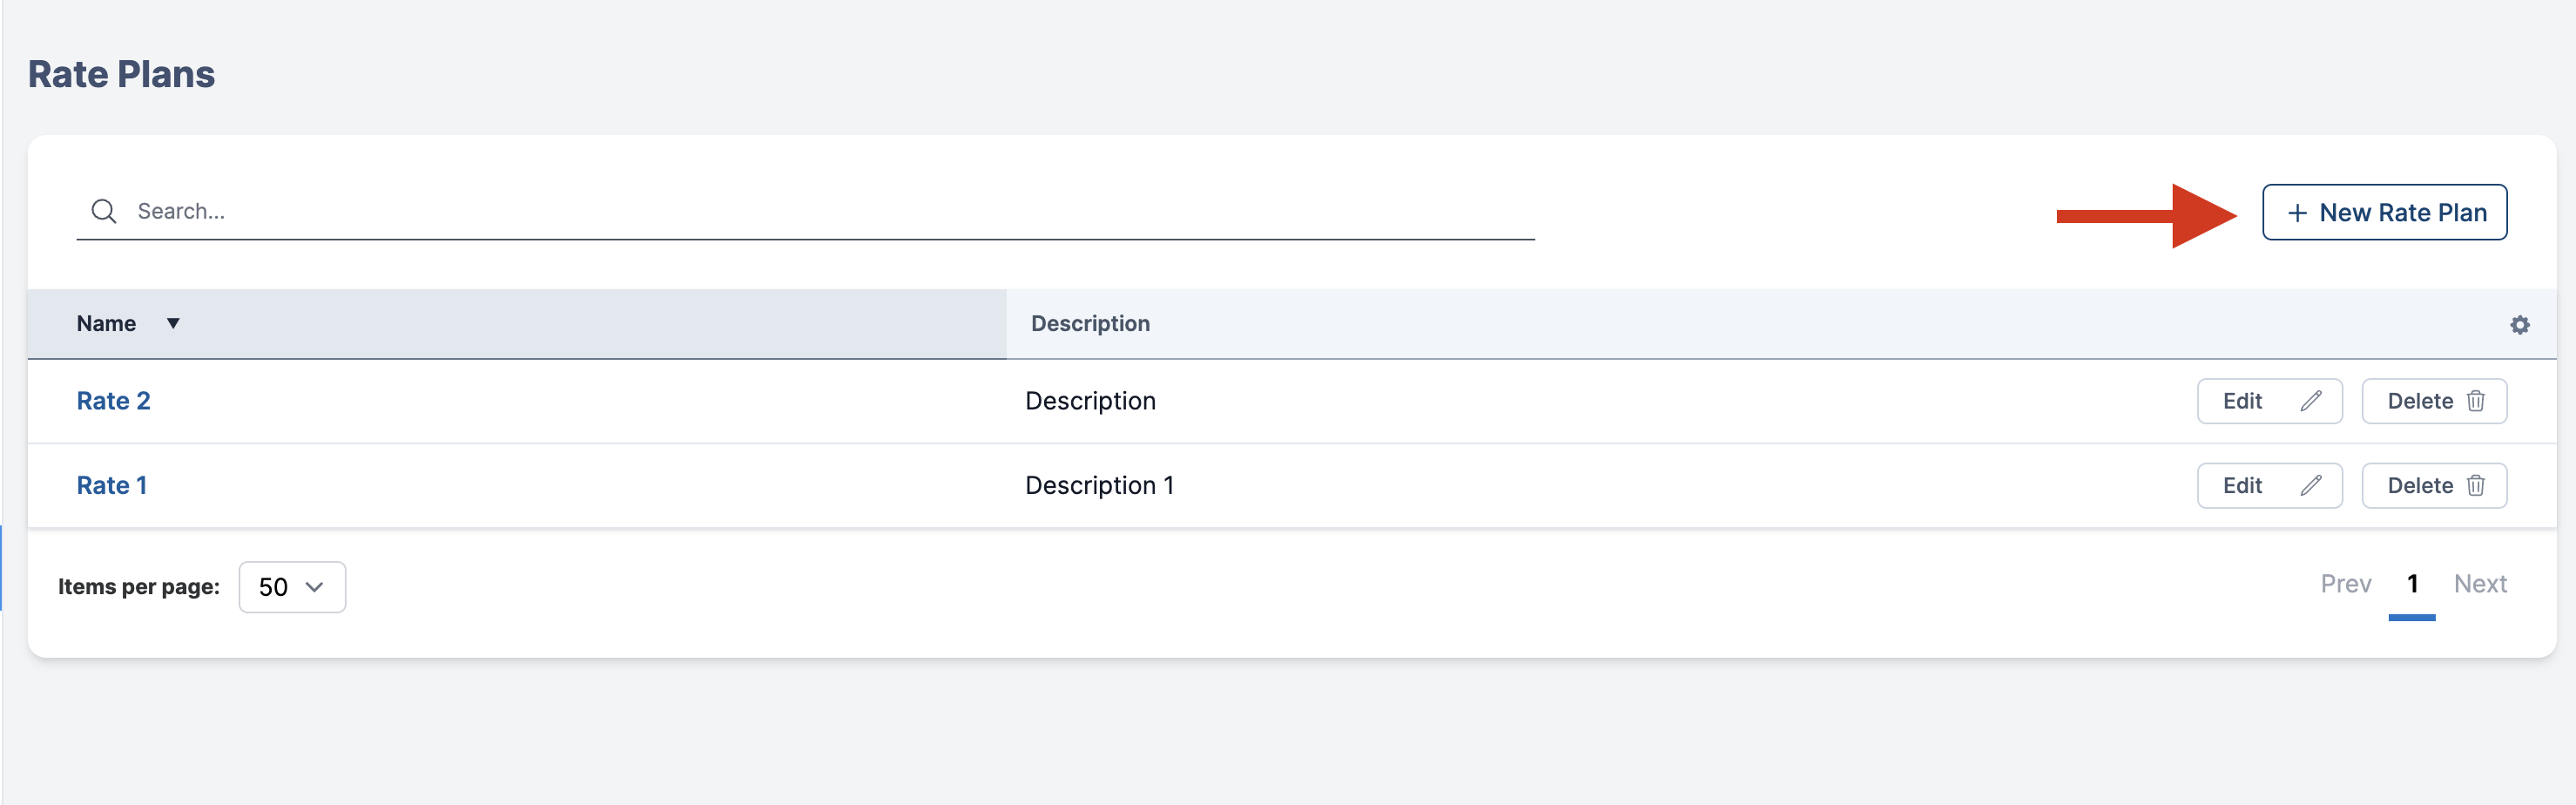
Navigate to the Admin module and select Rate Plans.
-
Click the '+ New Rate Plan' button.
-
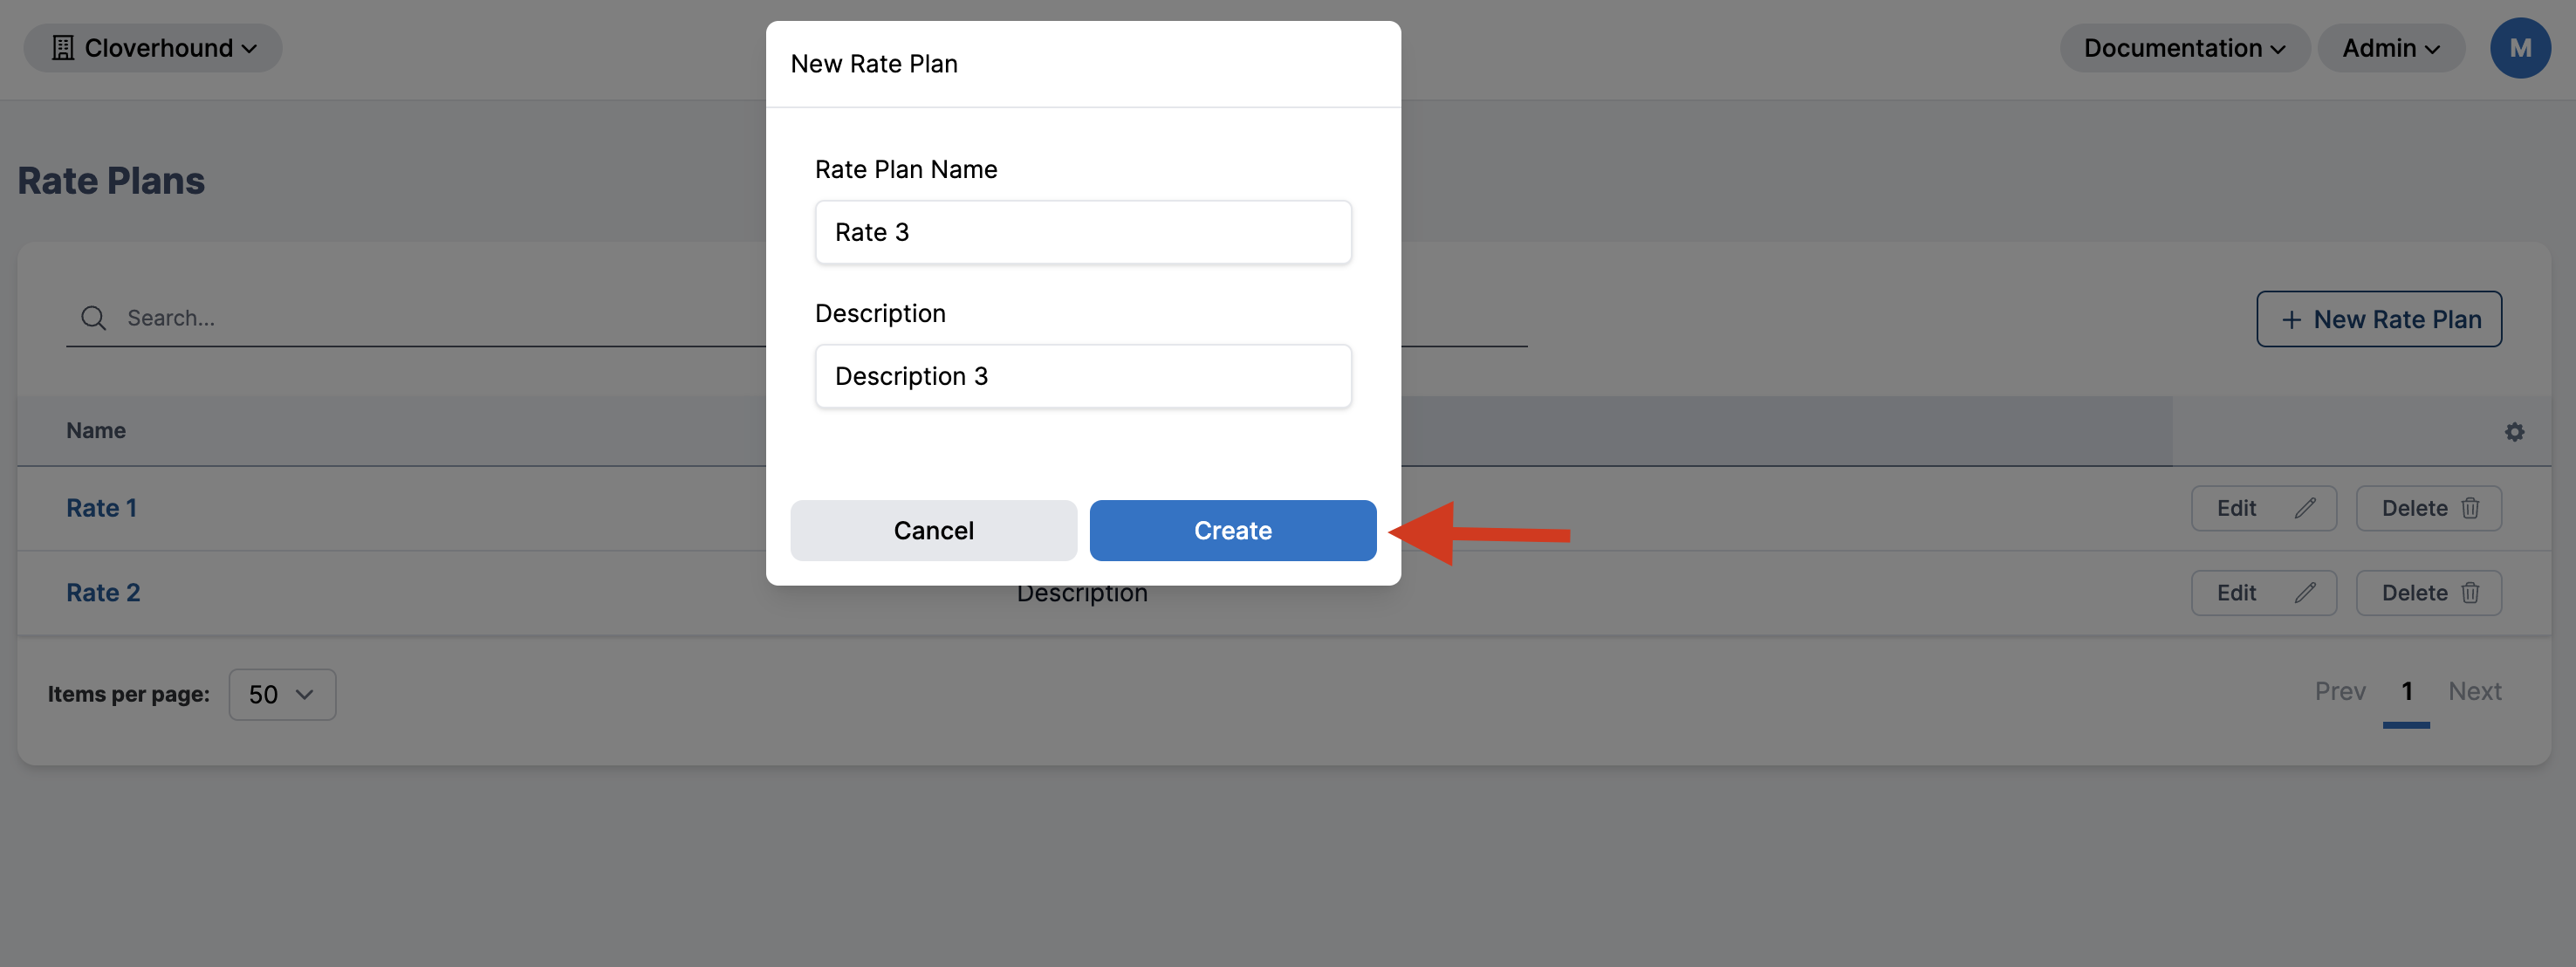
Fill in the fields in the creation form:
- Name (required): Give the rate plan a clear and descriptive name.
- Description (optional): Add additional context or details about the plan’s purpose.
-
Click Create to create the rate plan.
-
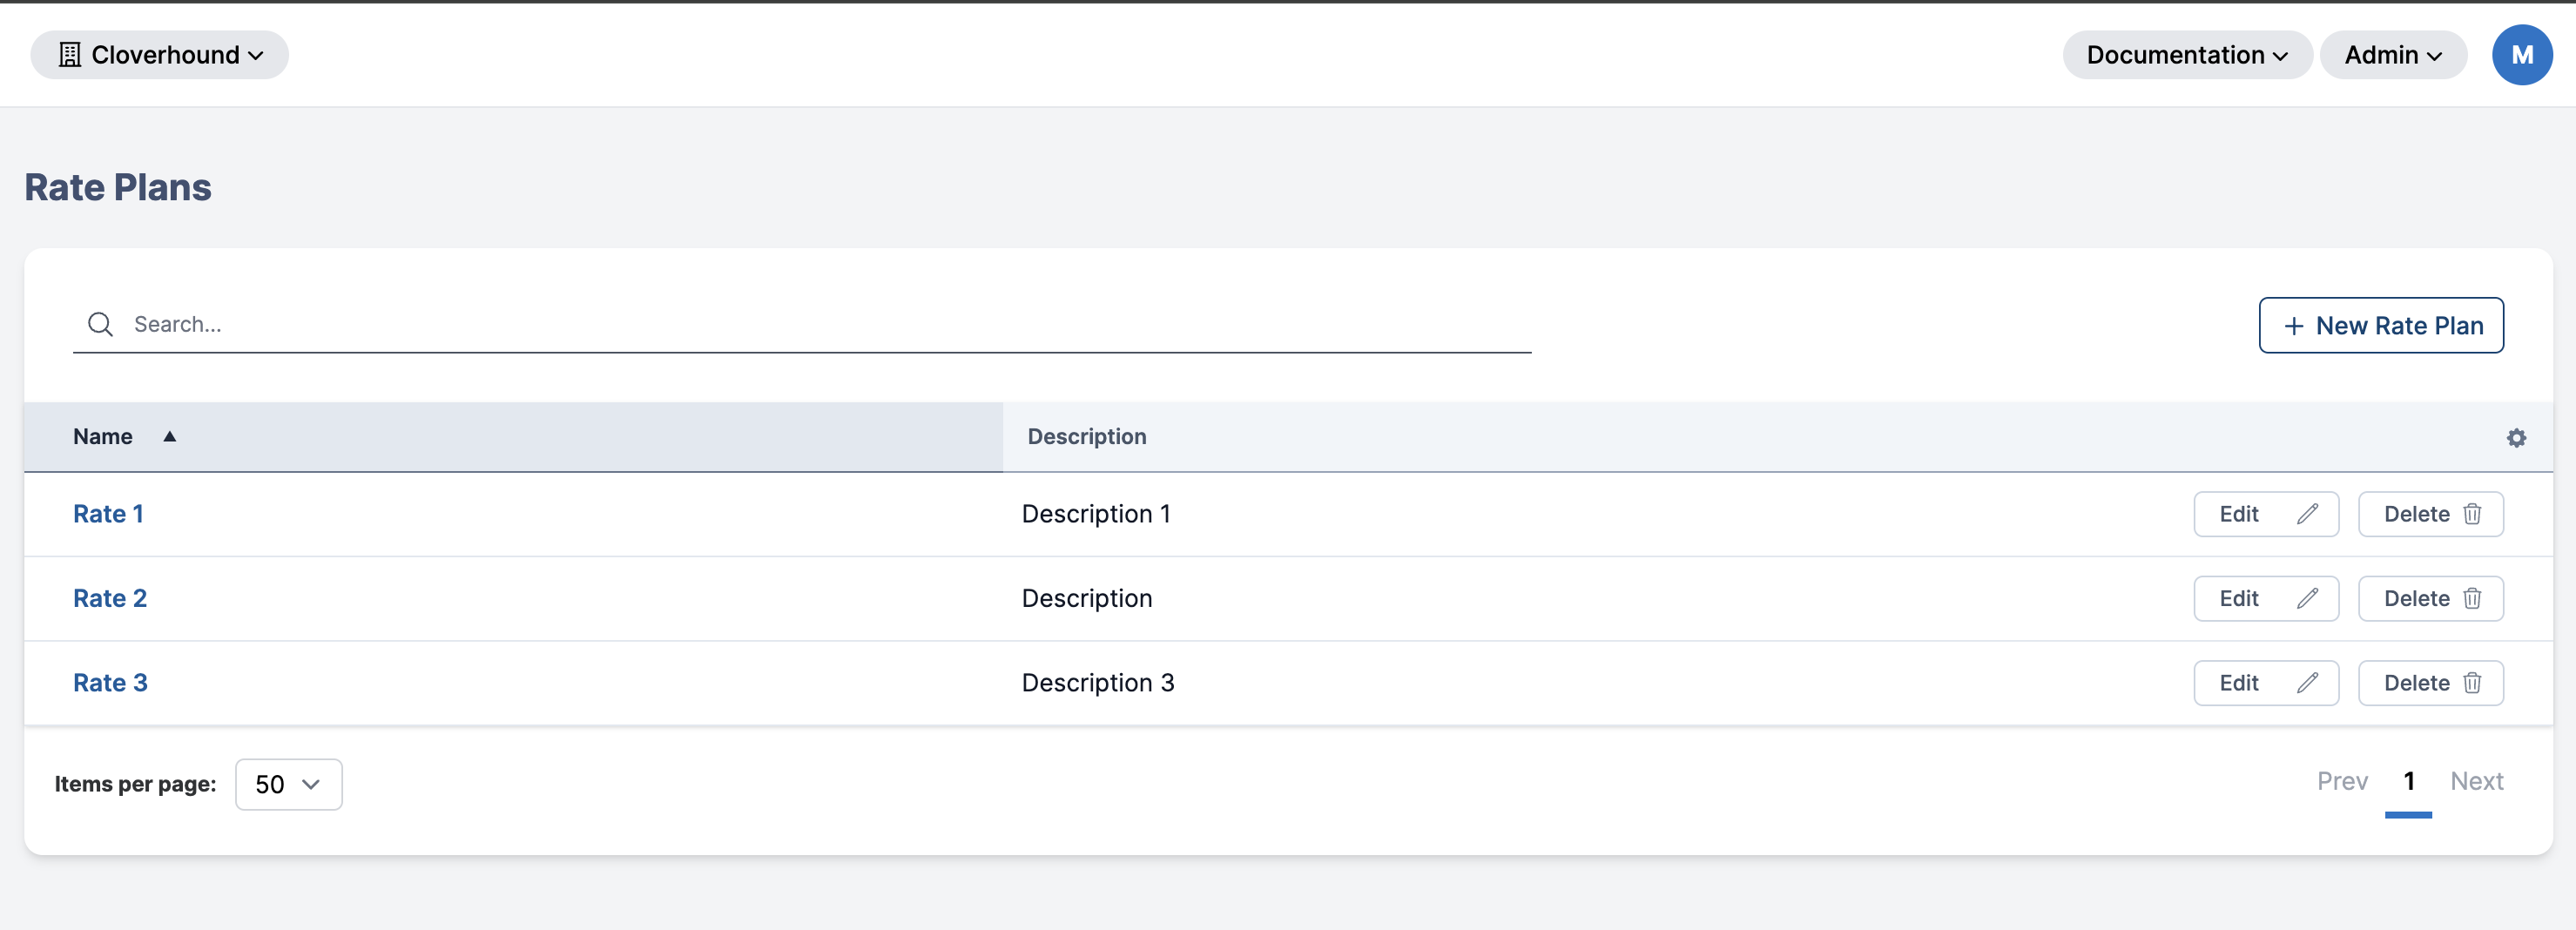
Once created, the plan will appear in the list of rate plans.
Viewing the Rate Plans List
The list displays the following columns:
- Name – The name of the rate plan
- Description – Any optional description provided during creation
You can click on any rate plan to see or manage its associated Rates.
Adding Rates to a Rate Plan
After creating a Rate Plan, you can begin adding one or more Rates that define how calls are billed. Rates allow you to set different dial patterns, cost per minute, time-of-day rules, and day-of-week rules. Follow these steps:
-
Open the Rate Plan detail page by clicking its name in the list.
-
On the Rate Plan detail page, look for the “Rates” section or tab.
-
Click the “Add New Rate” button (or “+ Rate”).

-
Complete the form or wizard (it may be split into multiple steps):
- Dial Pattern: The number pattern (e.g.,
+1XXXXXXXXXX). - Description (optional): A friendly label, e.g., “US Domestic.”
- Cost per Minute (required): Numeric field with up to 6 decimal places (e.g.,
0.015000). - Connection Fee (optional): Additional charge applied once per call.
- Billing Increment (required): Duration in seconds to round call length (e.g.,
60). - Effective From / To: The date range in which this rate applies.
- Days of Week / Time Range (optional): If you want this rate to apply only on specific days or during specific hours.
- Dial Pattern: The number pattern (e.g.,
-
Click Save to finalize the new rate.
-
The newly created rate should now appear in the Rates list for that plan.
Managing Rate Plans
- You can edit an existing rate plan by clicking the pencil icon next to the rate plan’s name.
- Rate plans can only be managed by users with Admin permissions.
- Rate plans are scoped to your organization, so administrators can only see and manage plans within their own org.
Best Practices
- Use descriptive names for rate plans that indicate the region, customer type, or purpose.
- Avoid duplicating rate plans unnecessarily—reuse existing ones when possible.
- Regularly review and update rate plans to reflect changes in billing or carrier agreements.
- Leverage the priority and time-based settings in the Rates section (within each plan) for advanced cost control.