Records Overview
- Records represent a customer that we intend to call at a specified date and time or on a regular schedule. A record can have multiple phone numbers, one for mobile, home, work, etc.
- Records can also optionally have a local time zone associated with them. If not, other methods will be used to determine an appropriate time zone for the record. See the Record Timezones section for more info.
- Records are associated with a dialer campaign.
Importing Records
-
Records can be created manually on the web interface.
-
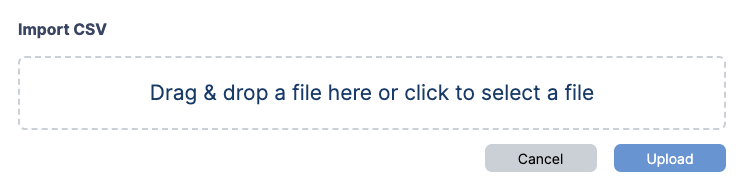
A faster way to import records is by uploading a CSV file.
-
The required headers for a CSV file to import records into the system are:
customer_reference_id,agentand at least one phone number field (e.g primary, home, mobile, etc.). -
Data values for
agentmust be the email of an end user in the system -
The first row of the CSV file must contain the headers, and all subsequent rows must contain the data.
-
The
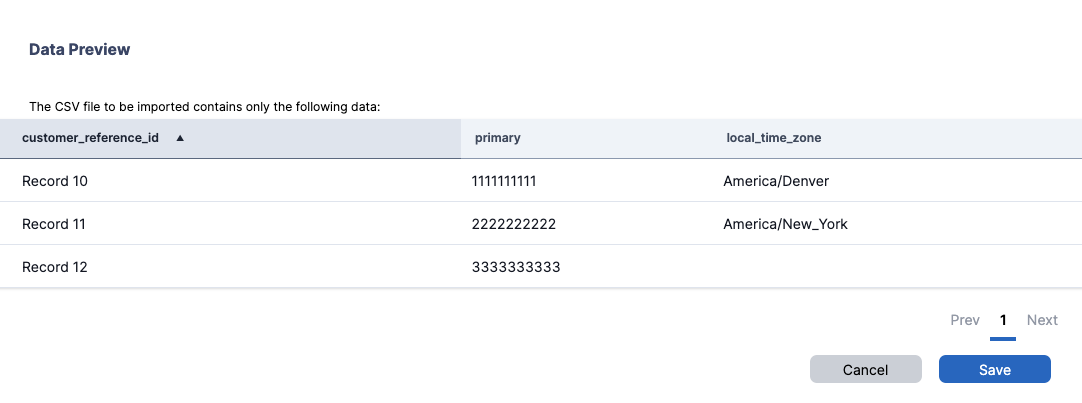
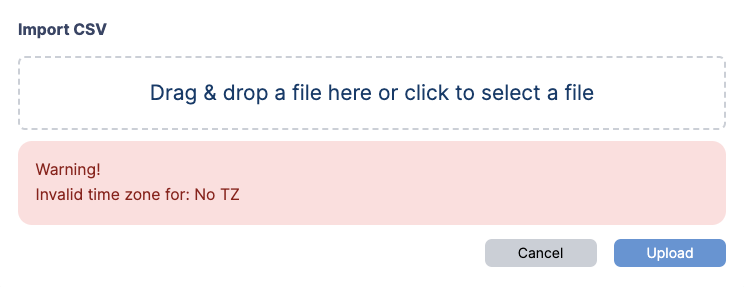
local_time_zonefield is optional, so it can be blank in the CSV file. However, if it is filled in, it must be a valid time zone. See the list of valid time zones in the Record Timezones section.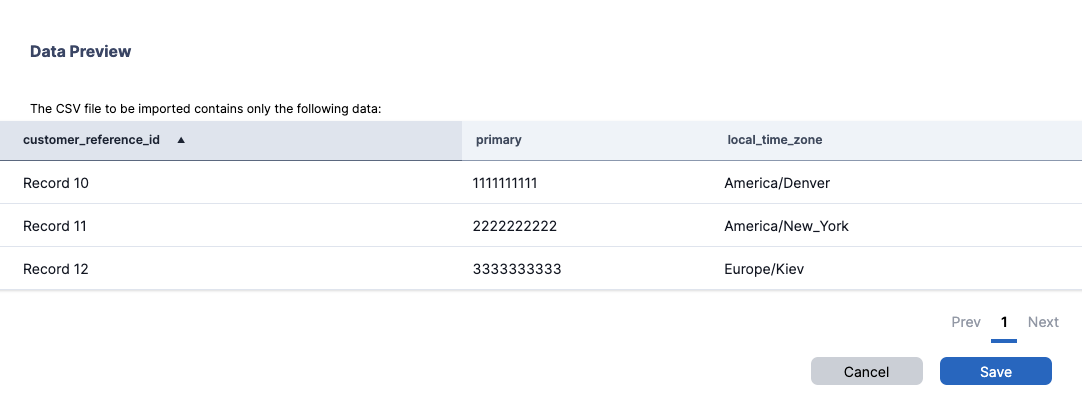
-
The
scheduled_forrepresents theScheduled call fordate time, the field is optional, so it can be blank in the CSV file. However, if it is filled in, it must be a valid date time. See an example list of valid date time formats in the Date and Time Formats for Campaign Records section. -
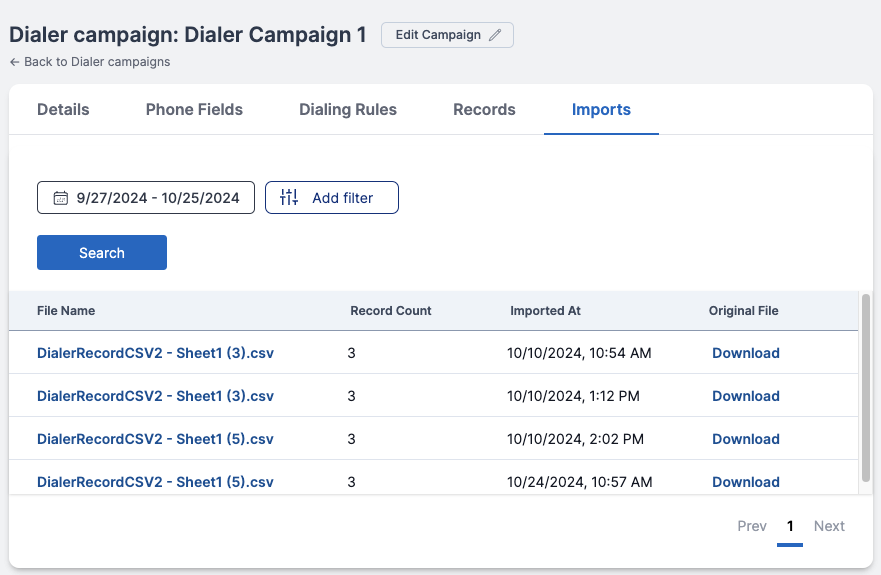
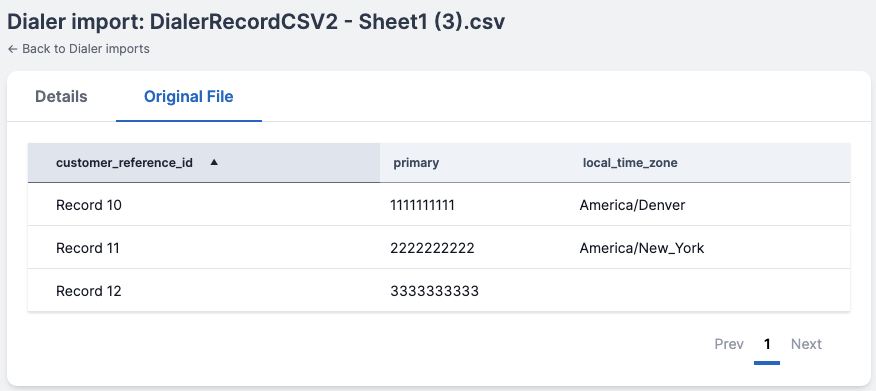
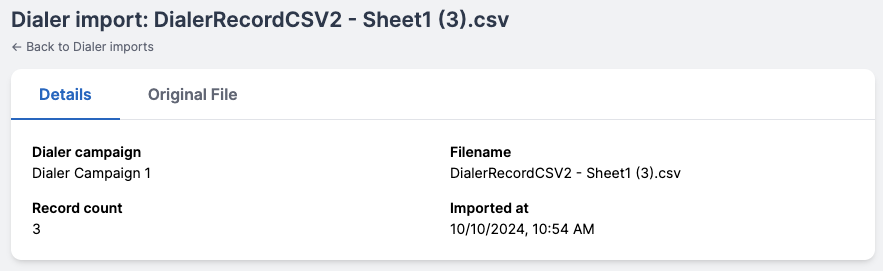
Imported files are saved and displayed in the Imports tab, where you can see the imported files and their details.
Duplicate Records
- If there are duplicate customer reference IDs in the file itself, the first occurrences will be used, and the others will be ignored.
- Duplicate detection against records already in the campaign is controlled by the Allow Duplicate Records setting on the campaign. It is off by default, which means duplicates are detected and the handling described below applies. Turn it on and no duplicate check runs, so every row in the file is inserted even when its customer reference ID already exists.
- Checking Replace in the upload modal (see Append/Replace) also skips the duplicate check, because the existing records are removed before the file is imported.
Choosing how duplicates are handled
When the uploaded file contains customer reference IDs that already exist in the table, the upload modal reports how many it found and shows a Select an option dropdown. Pick one of four options before clicking Continue:
| Option | What happens to a matching record already in the table |
|---|---|
| Skip duplicates | Nothing. The existing record is left as it is and the row in the file is not imported. |
| Overwrite existing records | The existing record is deleted and re-inserted from the file, whatever its status. |
| Overwrite completed/failed records | The existing record is deleted and re-inserted from the file only when the reference ID has finished being worked. |
| Update record | The existing record keeps its call attempts, status, dispositions, agent assignment, and scheduled callback; only its data fields and phone numbers are updated from the file. |
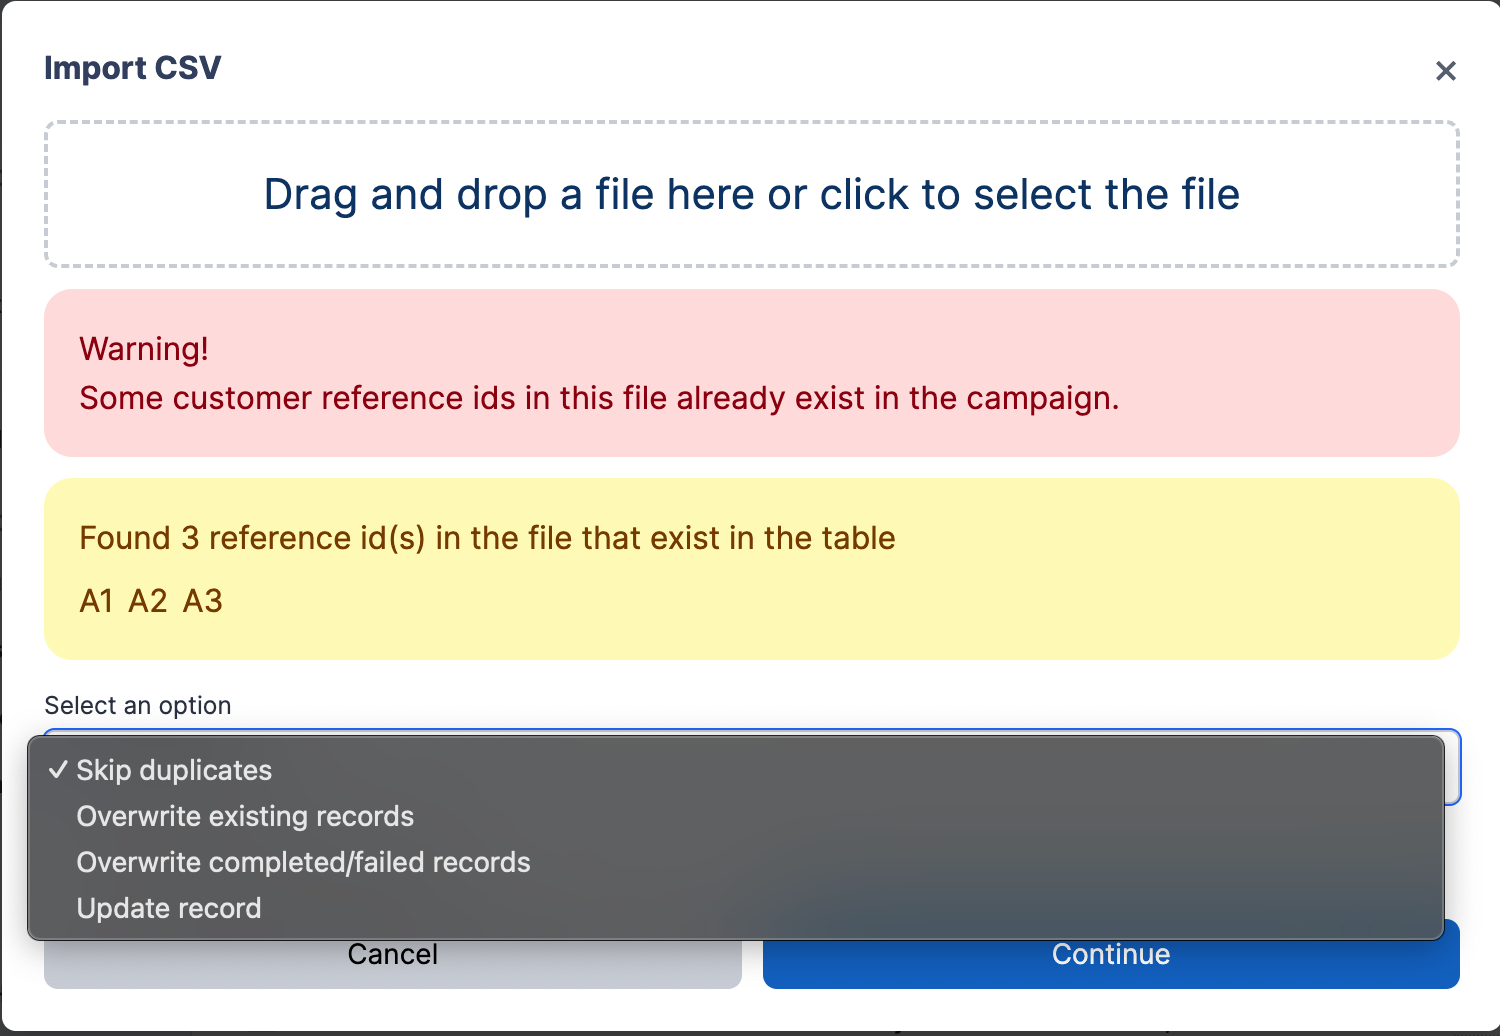
After you click Continue, a confirmation step restates the option in plain language. Click Back to change it, or Confirm to run the import.
Overwrite completed/failed records
This option replaces the reference IDs you are done with and leaves the ones still being worked alone.
- A reference ID is overwritten only when all of its existing records are
completedorfailed. - A reference ID with any record in
pending,retry, oractivestatus is left untouched, and its row in the file is skipped. Call attempts, dispositions, and scheduling on that record are never discarded. - Archived records count toward the check by status alone: an archived record that is
completedorfailedis overwritten like any other.
Before you confirm, the upload modal adds a line under the duplicate list telling you how many of the matching reference IDs will be skipped because they are not completed or failed.
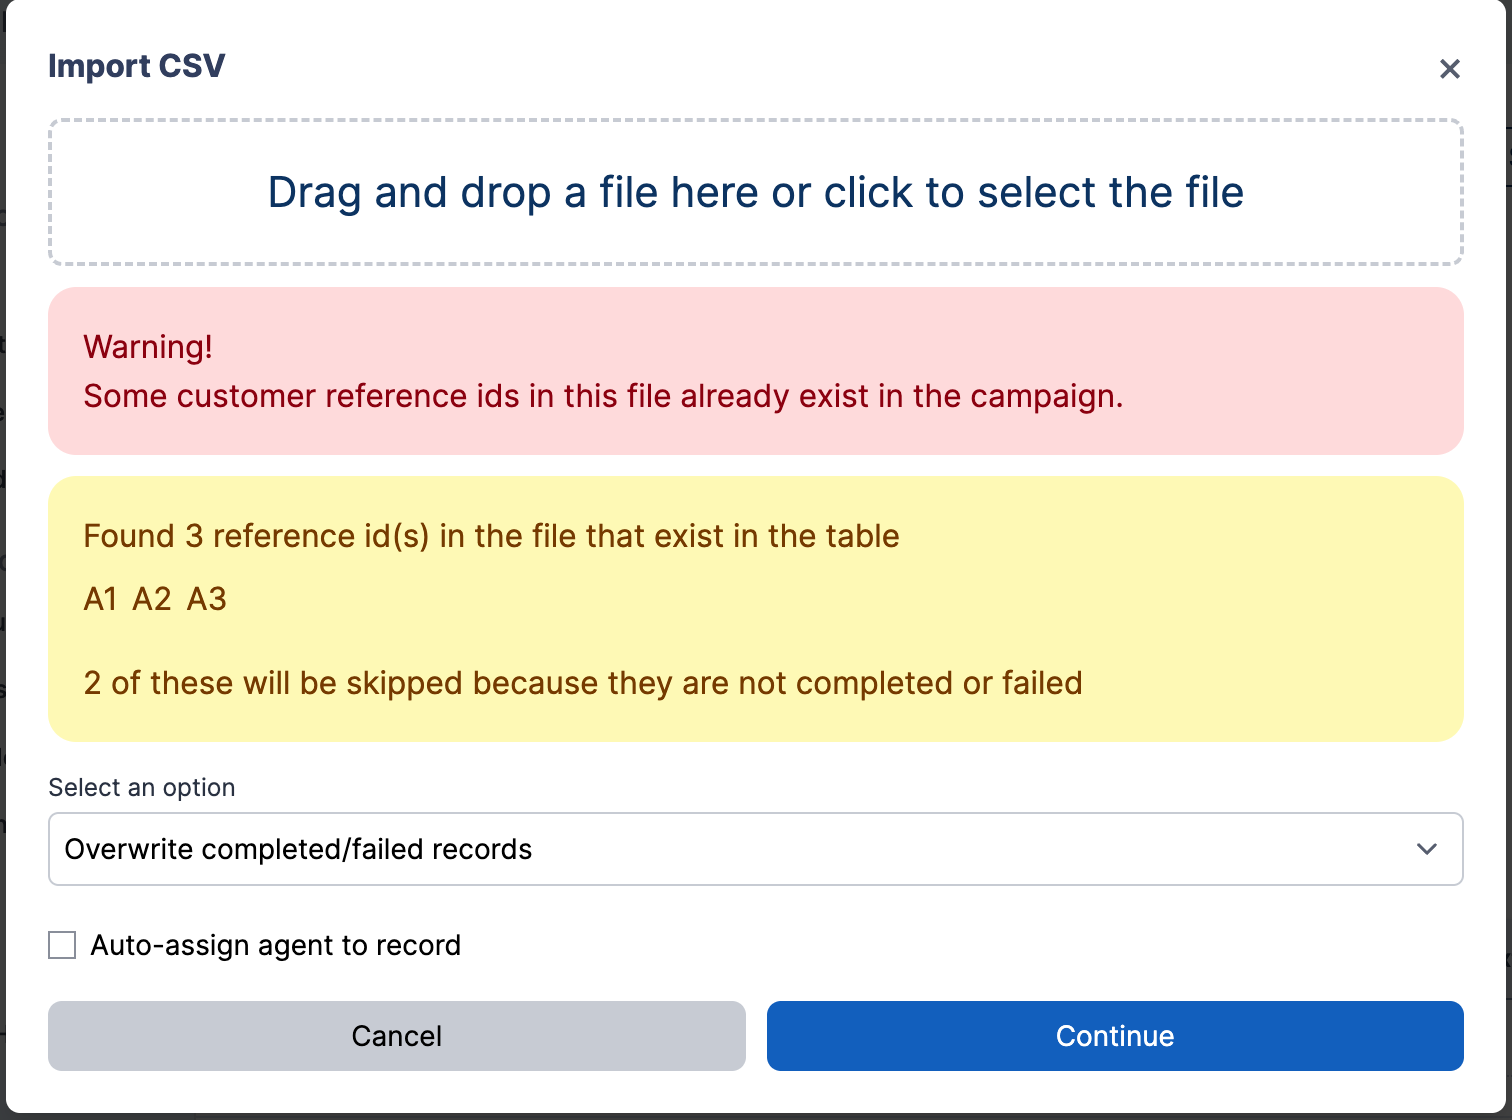
This option is available for manual CSV uploads only. Scheduled SFTP imports and Salesforce data source links still offer Skip duplicates, Overwrite existing records, and Update record.
The post-import report
When the import finishes, a report modal lists the reference IDs that were acted on, up to 50 per section:
- How many records were skipped, overwritten, or updated, depending on the option you chose.
- For Overwrite completed/failed records, a second section: how many records were skipped because they are not completed or failed.
Click Download Report for a PDF with the full lists, including anything beyond the first 50 entries.
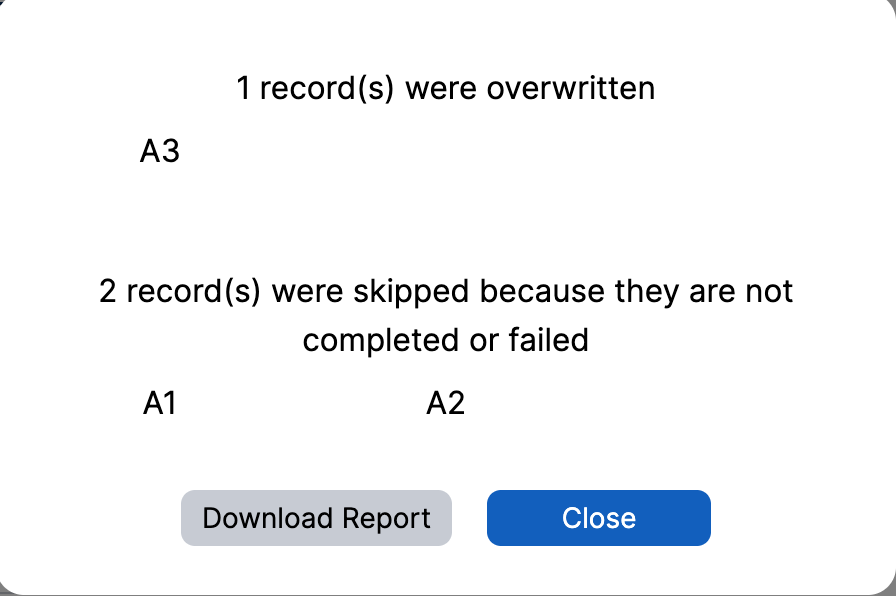
The counts in the report come from the check run when the file was validated. If a record changes status between validating and confirming, the report can be off by that record; the import itself always re-checks each batch against the database before writing.
Append/Replace
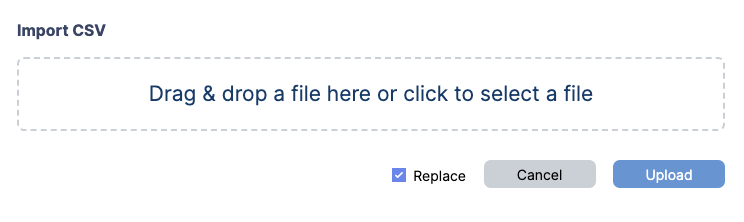
- Users will have the option to either replace the existing records in the table with the records in their uploaded csv file or to add the records in their file to the table without replacing. There is a checkbox in the upload modal for the replace option.
Editing or Deleting a Record
-
Locate the record
- Find the record you want to edit or delete on the table.

-
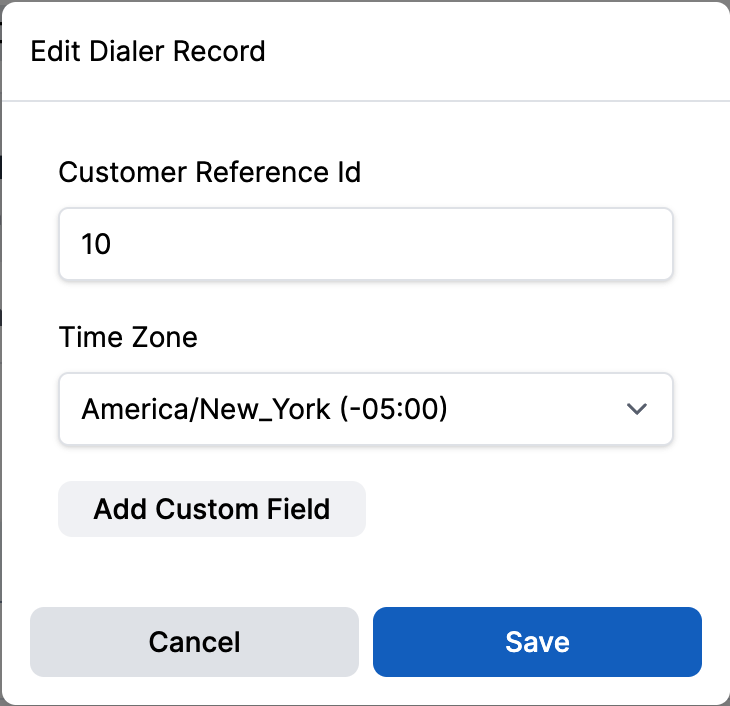
Edit a Record:
- Click the Edit button on the respective row.
- Update the record details as needed and click Save to apply the changes.
-
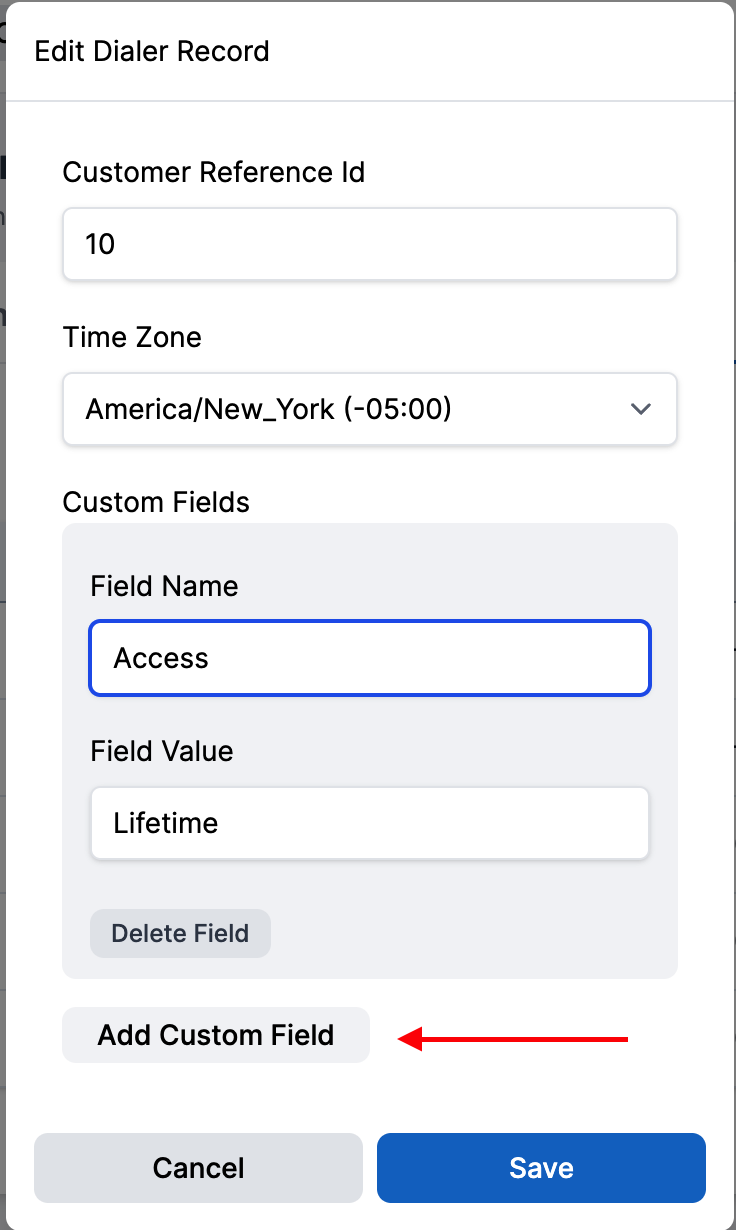
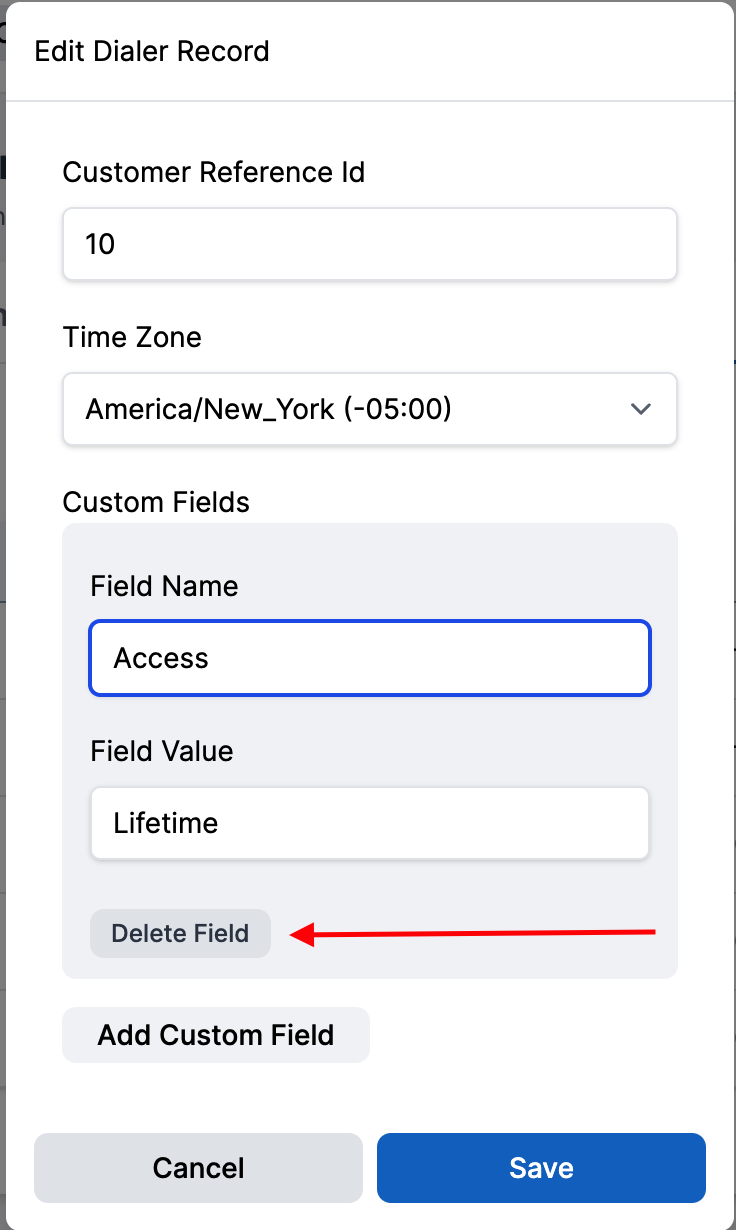
You can also add and delete custom fields to the record.
- Click the Add Custom Field button to open the field name and value pair.
- Click the Delete Field button to remove the field name and value pair.
-
Delete a Record:
- Click the Delete button on the respective row.
- Confirm the deletion to remove the record permanently.
Callback
-
Locate the record
- Find the record you want to edit or delete on the table.
-
Add a Callback to the record:
-
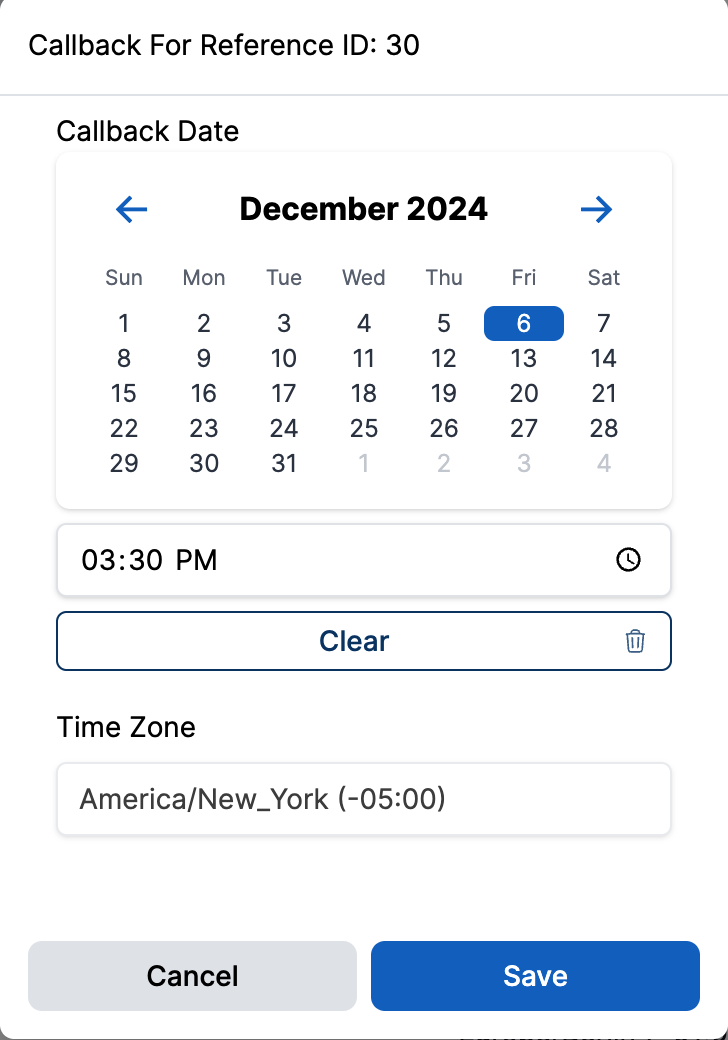
Click the Callback button on the respective row.
-
Update the callback details as needed and click Save to apply the changes.
- By selecting the date and time on the calendar and time picker.
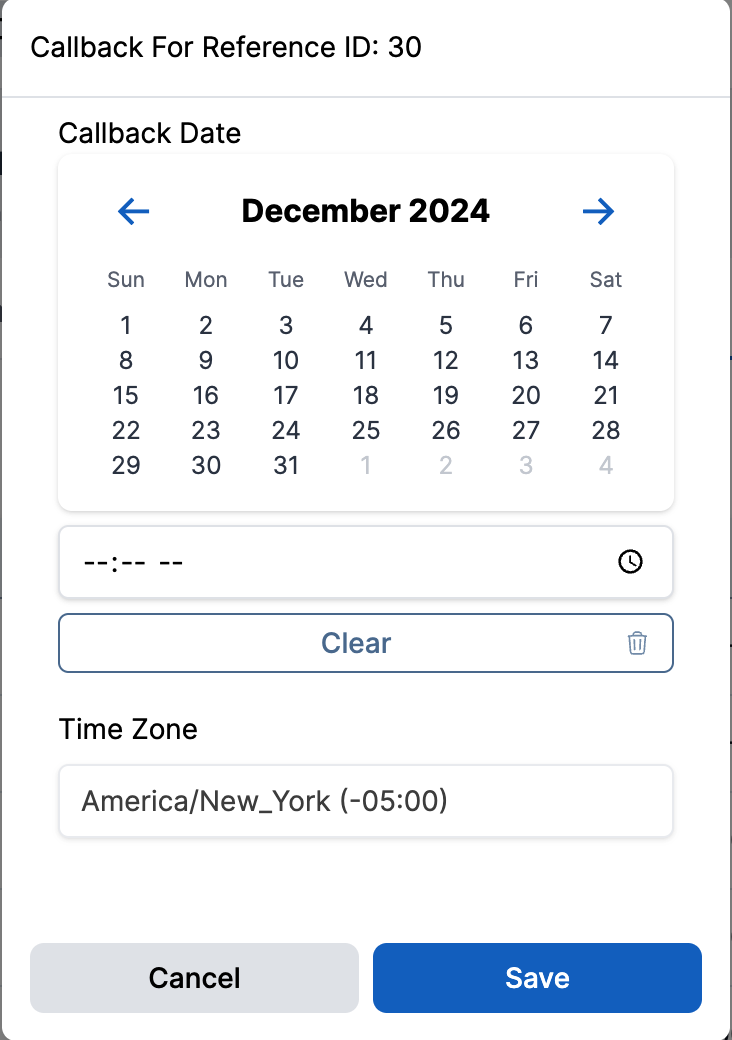
- Or by clicking Clear to remove the callback date.
-
Dialable Records
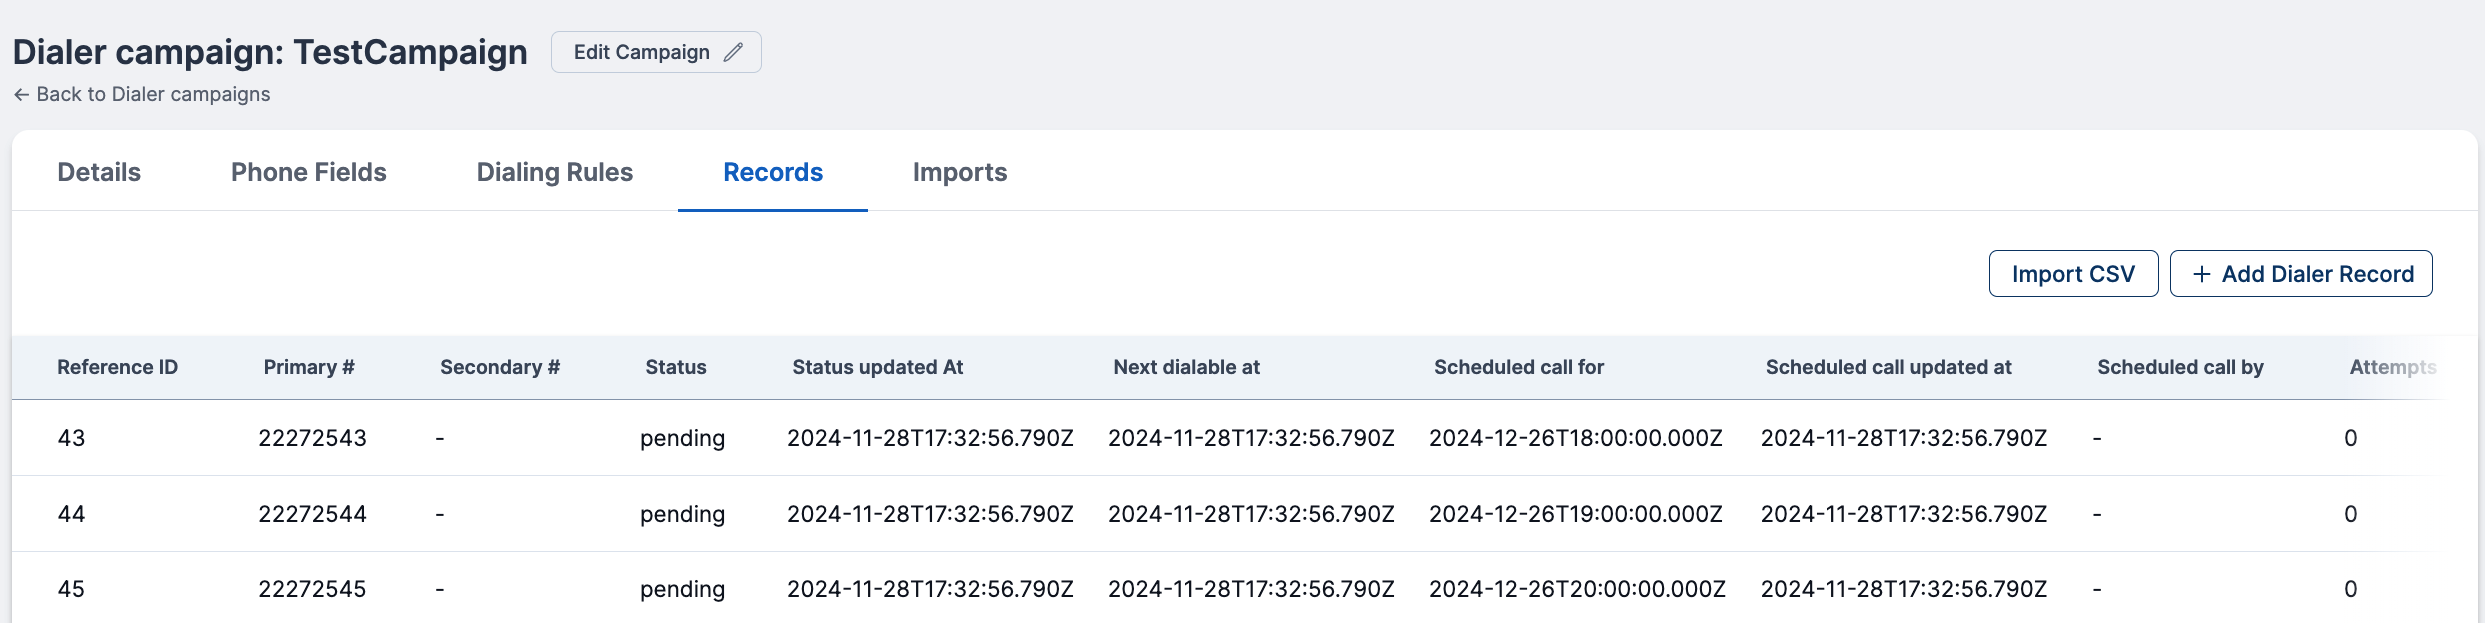
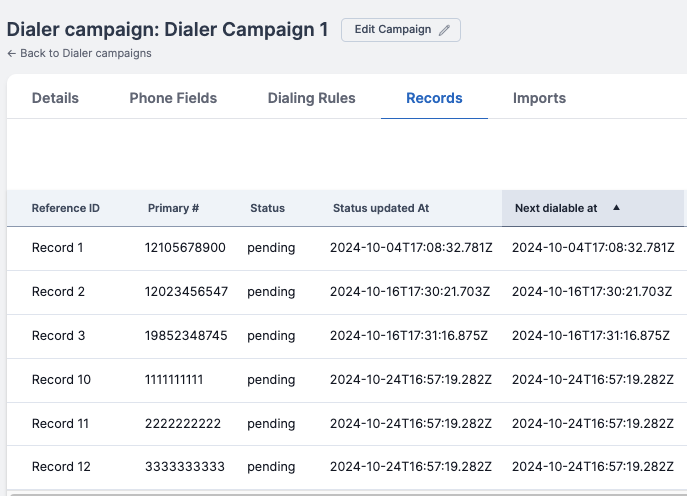
- In order for a record's phone numbers to be dialed, the record must be dialable.
- For a record to be dialable, its
Scheduled call fordate or itsNext dialable atdate must be in the past, and it must have a status of eitherpendingorretry. - If the
Scheduled call fordate has a value, it takes precedence. Otherwise, theNext dialable atdate is used.
Dialer Phone Management
The dialer system manages phone numbers through two key components:
- Dialer Phone Fields: The categories or types of phone numbers
- Dialer Record Phone Numbers: The actual phone numbers
Dialer Phone Fields
Dialer phone fields are the categories or types that classify each phone number in the system.
Key Features
- Define the type of phone number (home, mobile, work)
- Link to scheduling systems for automated calling
- Connect directly to dialer campaigns
Scheduling Capabilities
- Set specific calling times for different phone types
- Create automated calling schedules
- Align calling patterns with campaign requirements
Dialer Record Phone Numbers
Dialer record phone numbers are the actual phone numbers that the system can call. Each dialer record can have multiple phone numbers associated with it.
Key Features
- Multiple numbers can be linked to a single dialer record
- Each number is categorized by type (home, mobile, work)
- Numbers can be added to Do Not Call (DNC) lists for compliance
Phone Number Format
Phone numbers are stored in E.164 format — a leading +, the country code, then the subscriber digits, with no spaces or punctuation. For US/Canada (country code 1), this means +1 followed by 10 digits. The Add/Edit Record form's phone input enforces this: choose a country from the flag dropdown and enter the digits, and the value is saved as +<country code><digits>. International country codes are available when international dialing is enabled for your organization.
Example
A customer record might have:
- Home:
+15551234567 - Mobile:
+15559876543 - Work:
+15552468135
How They Work Together
- Each phone number in the system is assigned a dialer phone field.
- The field determines when and how the number can be called.
- Campaign settings use these fields to manage calling strategies.