Introduction to Teams
The Teams section of Cloverhound Cloud allows you to configure Cloverhound Cloud Widget settings specific to each team.
The configurable widget settings are:
- autoAnswerReservation
- previewTimeSeconds
- allowSkipRecord
- includesUnassignedRecords
- saveCallbacksAsPersonal
- showCustomerData
- autoNextRecord
- skipStatus
- saveRecordLocallyEnable
- fallbackResetTimeoutSeconds
- synchronizeAfterConnectedEnabled
You can find more about them in the Cloverhound Cloud Widget Configuration documentation.
The Team Settings take precedence over the Desktop Layout's widget configurations.
- The system first uses the team variable defined in Cloverhound Cloud.
- If the variable is unavailable, it will fall back to the one defined in the layout.
- As a final fallback, it will use the default defined mentioned below.
Key Benefits
- Alternative to add more granular settings for your Webex Contact Center team Cloverhound Cloud Widget
- A more accessible way to modify each team's settings, instead of reviewing and importing the Desktop Layout.
How Teams Work
Currently, the Teams module only reads the Webex Contact Center teams, so it does not perform any managing operations on the team itself.
To view your Webex Contact Center teams, Cloverhound Cloud synchronizes using the Webex CC OAuth Token. The synchronization is disabled by default, and the setting is only available to admins.
If enabled, then only admins can run the synchronization in the Admin module > Sync Workers section.
If enabled, the sync process for teams runs every 30 minutes.
Steps to run it yourself:
- Have the
wxcc.team_sync_enabledsetting enabled. - Run the
WxCC Sync Teamsmanually in the Admin module>Sync Workers section if needed.
Accessing Teams
-
Navigate to the Teams Page:
- Go to the Campaigns module in the main menu.
- Select Teams section.
-
Apply Filters:
Select the filter you need.
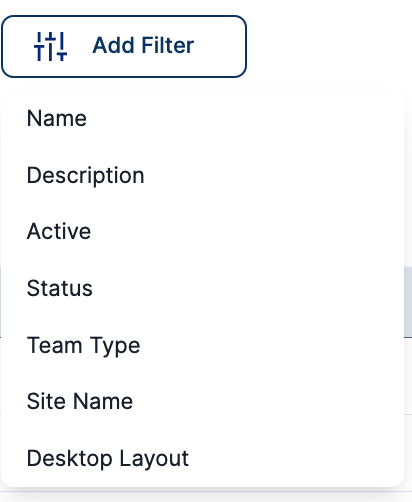
Based on the selected filter option, provide the necessary value:
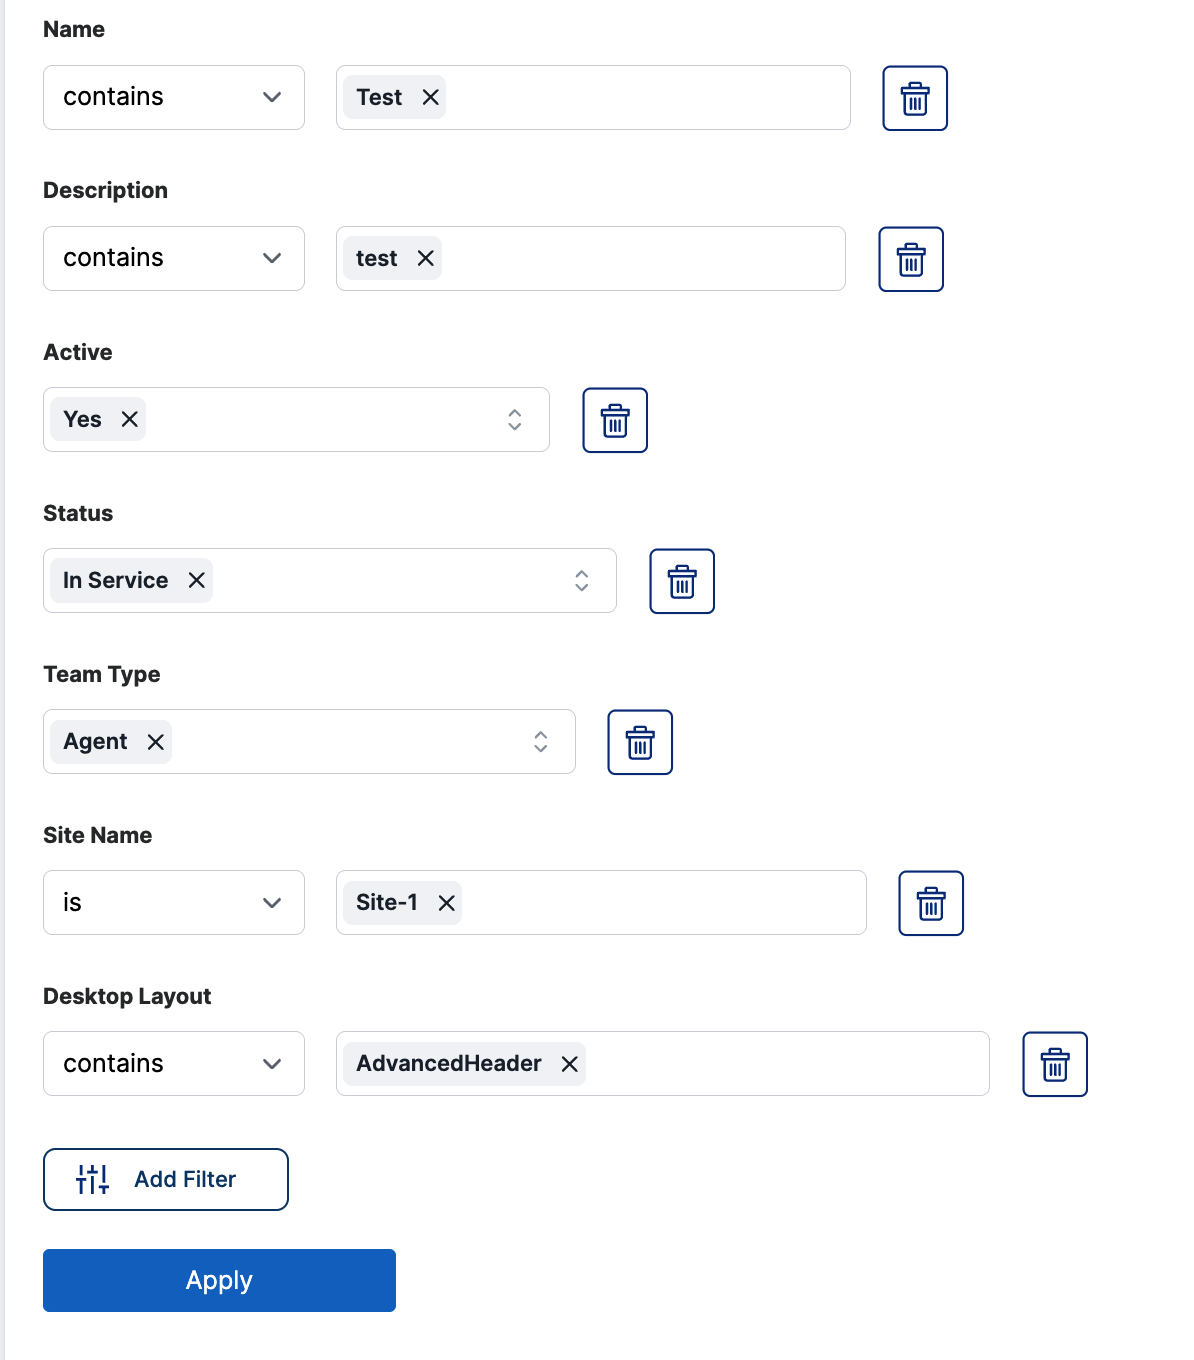
- For Name, Description, Site Name and Desktop Layout: input the desired value(s) in the multi-select combobox.
- For Active, Status, Team Type: input or select the desired value(s) in the multi-select combobox.
To remove a filter, click the Trash Icon button next to the filter you wish to delete.
Once you've configured your desired filters, click the Apply button to search based on the specified criteria.
Teams Table
The table view displays relevant team information and provides a way to sort and filter the shown data.
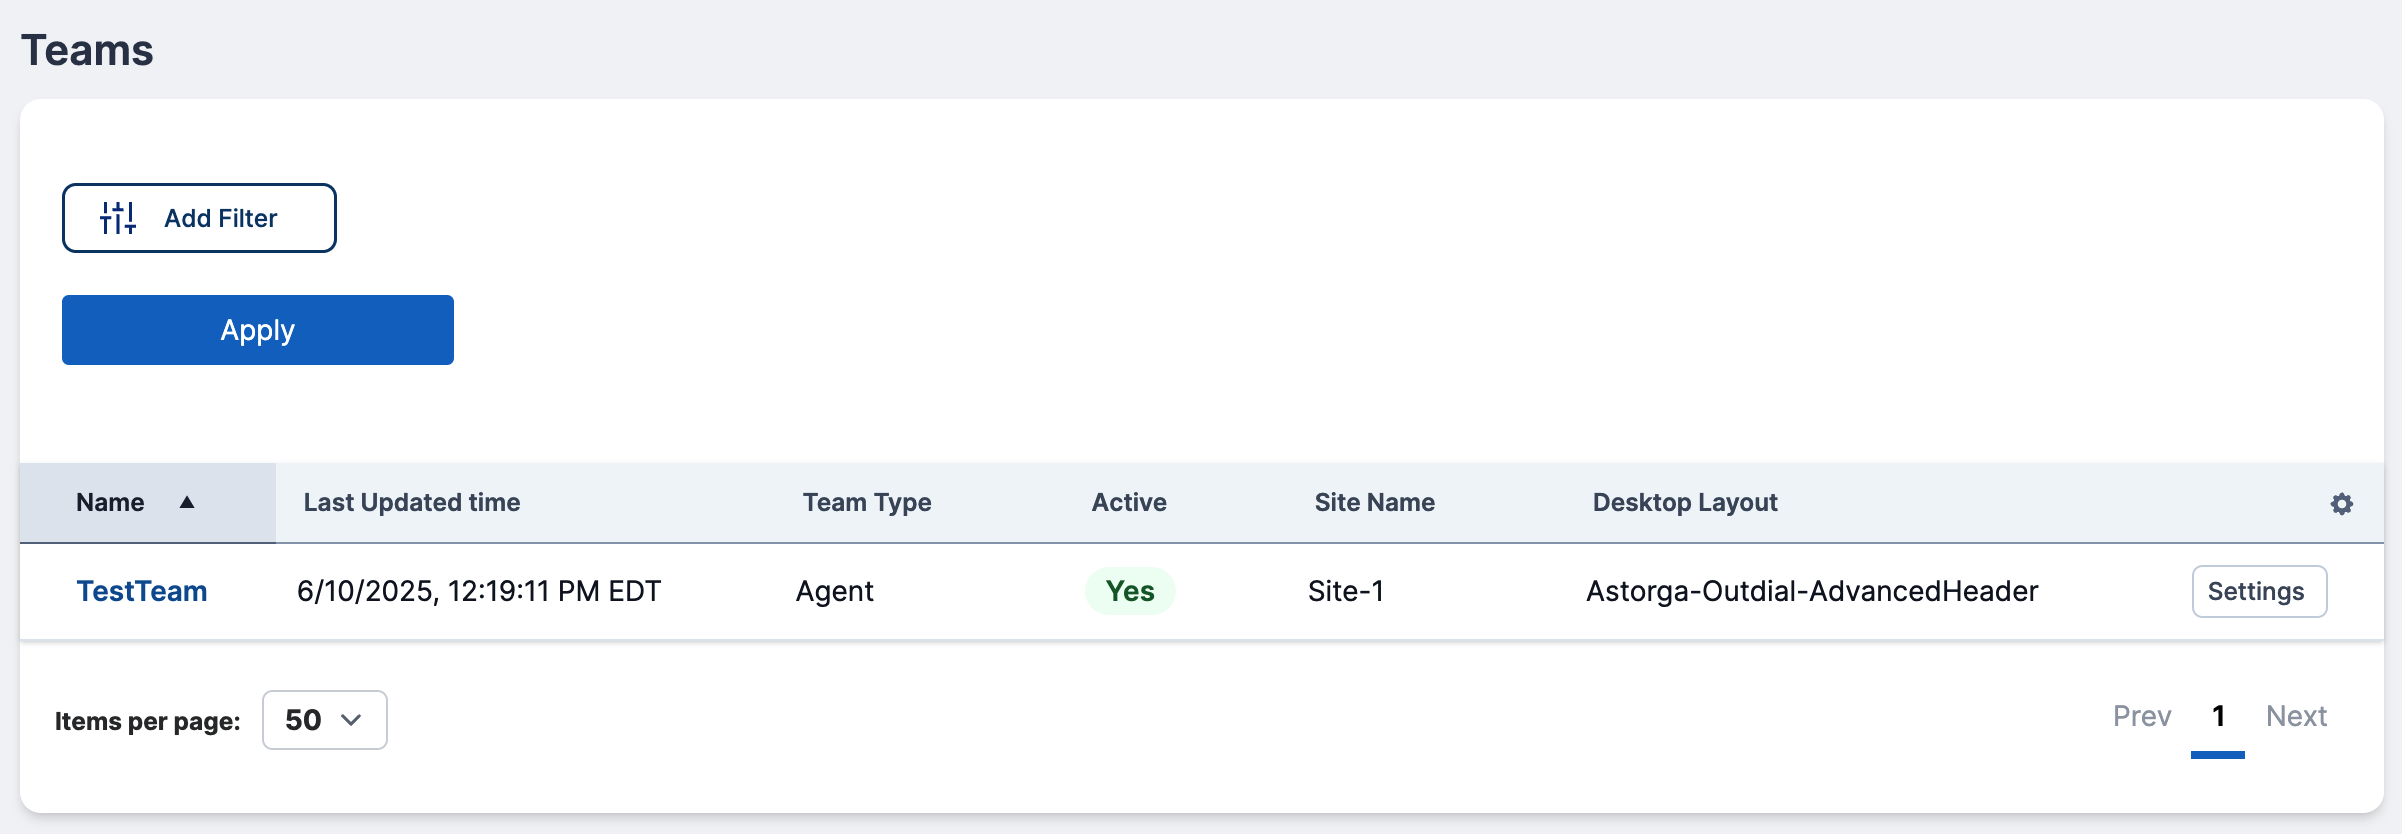
The values displayed on the table view are the following:
- Name
- Description
- Provider
- Created time
- Last Updated time
- Team type
- Active
- Status
- Site Name
- Desktop Layout
The columns can be shown or hidden using the gear icon.
From this view, you can directly access the team's tabs: details or settings.
For Accessing Team Detail Tab
You have the following two options.
- Click on the name of the team you want to access.
- Click on the Settings button of the team you want to access and then change to the Details tab.
For Accessing Team Settings Tab
You have the following two options.
- Click on the Settings button of the team you want to access.
- Click on the name of the team you want to access and then change to the Settings tab.
Teams Detail
The Team Details tab provides additional information about the team.

Teams Settings
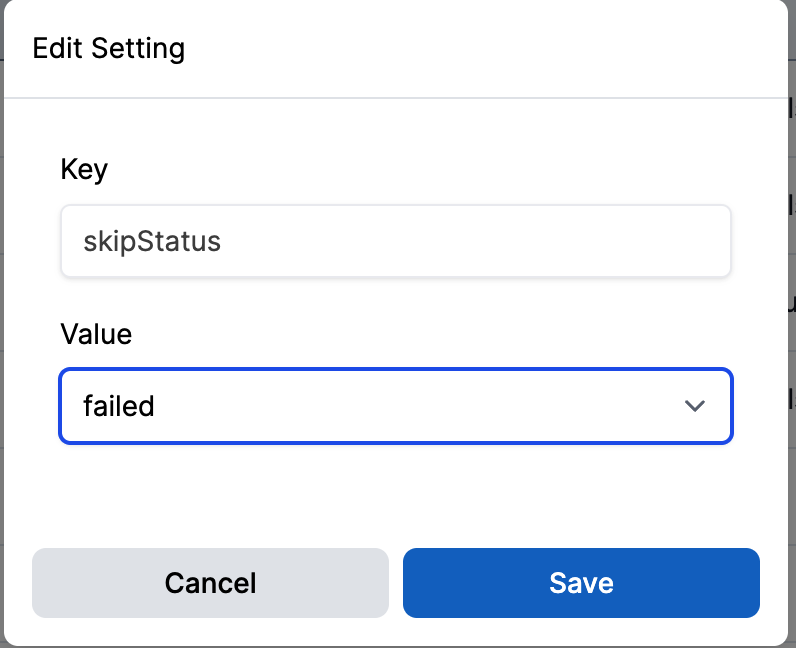
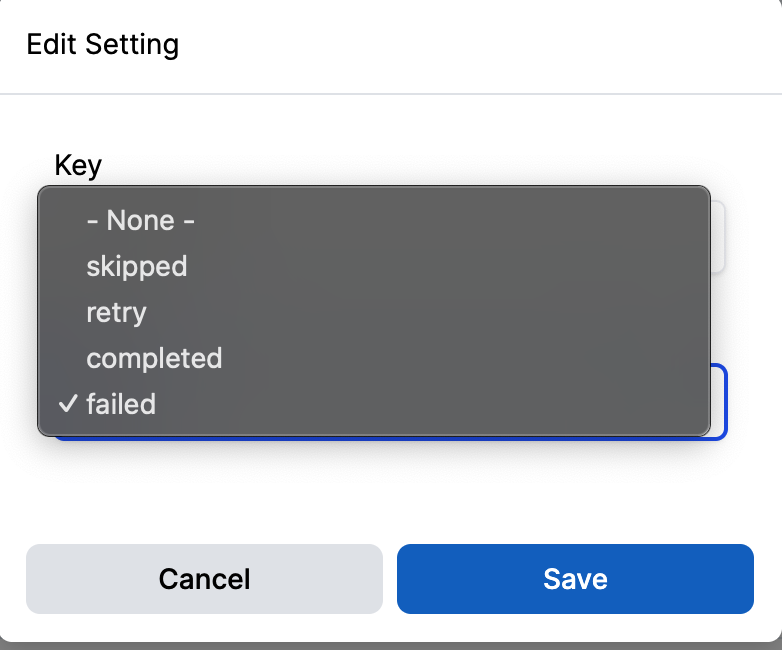
The Team Settings tab shows the Cloverhound Cloud Widget settings and current values. Additionally, it allows setting the value of each setting or restoring the setting to use the default.
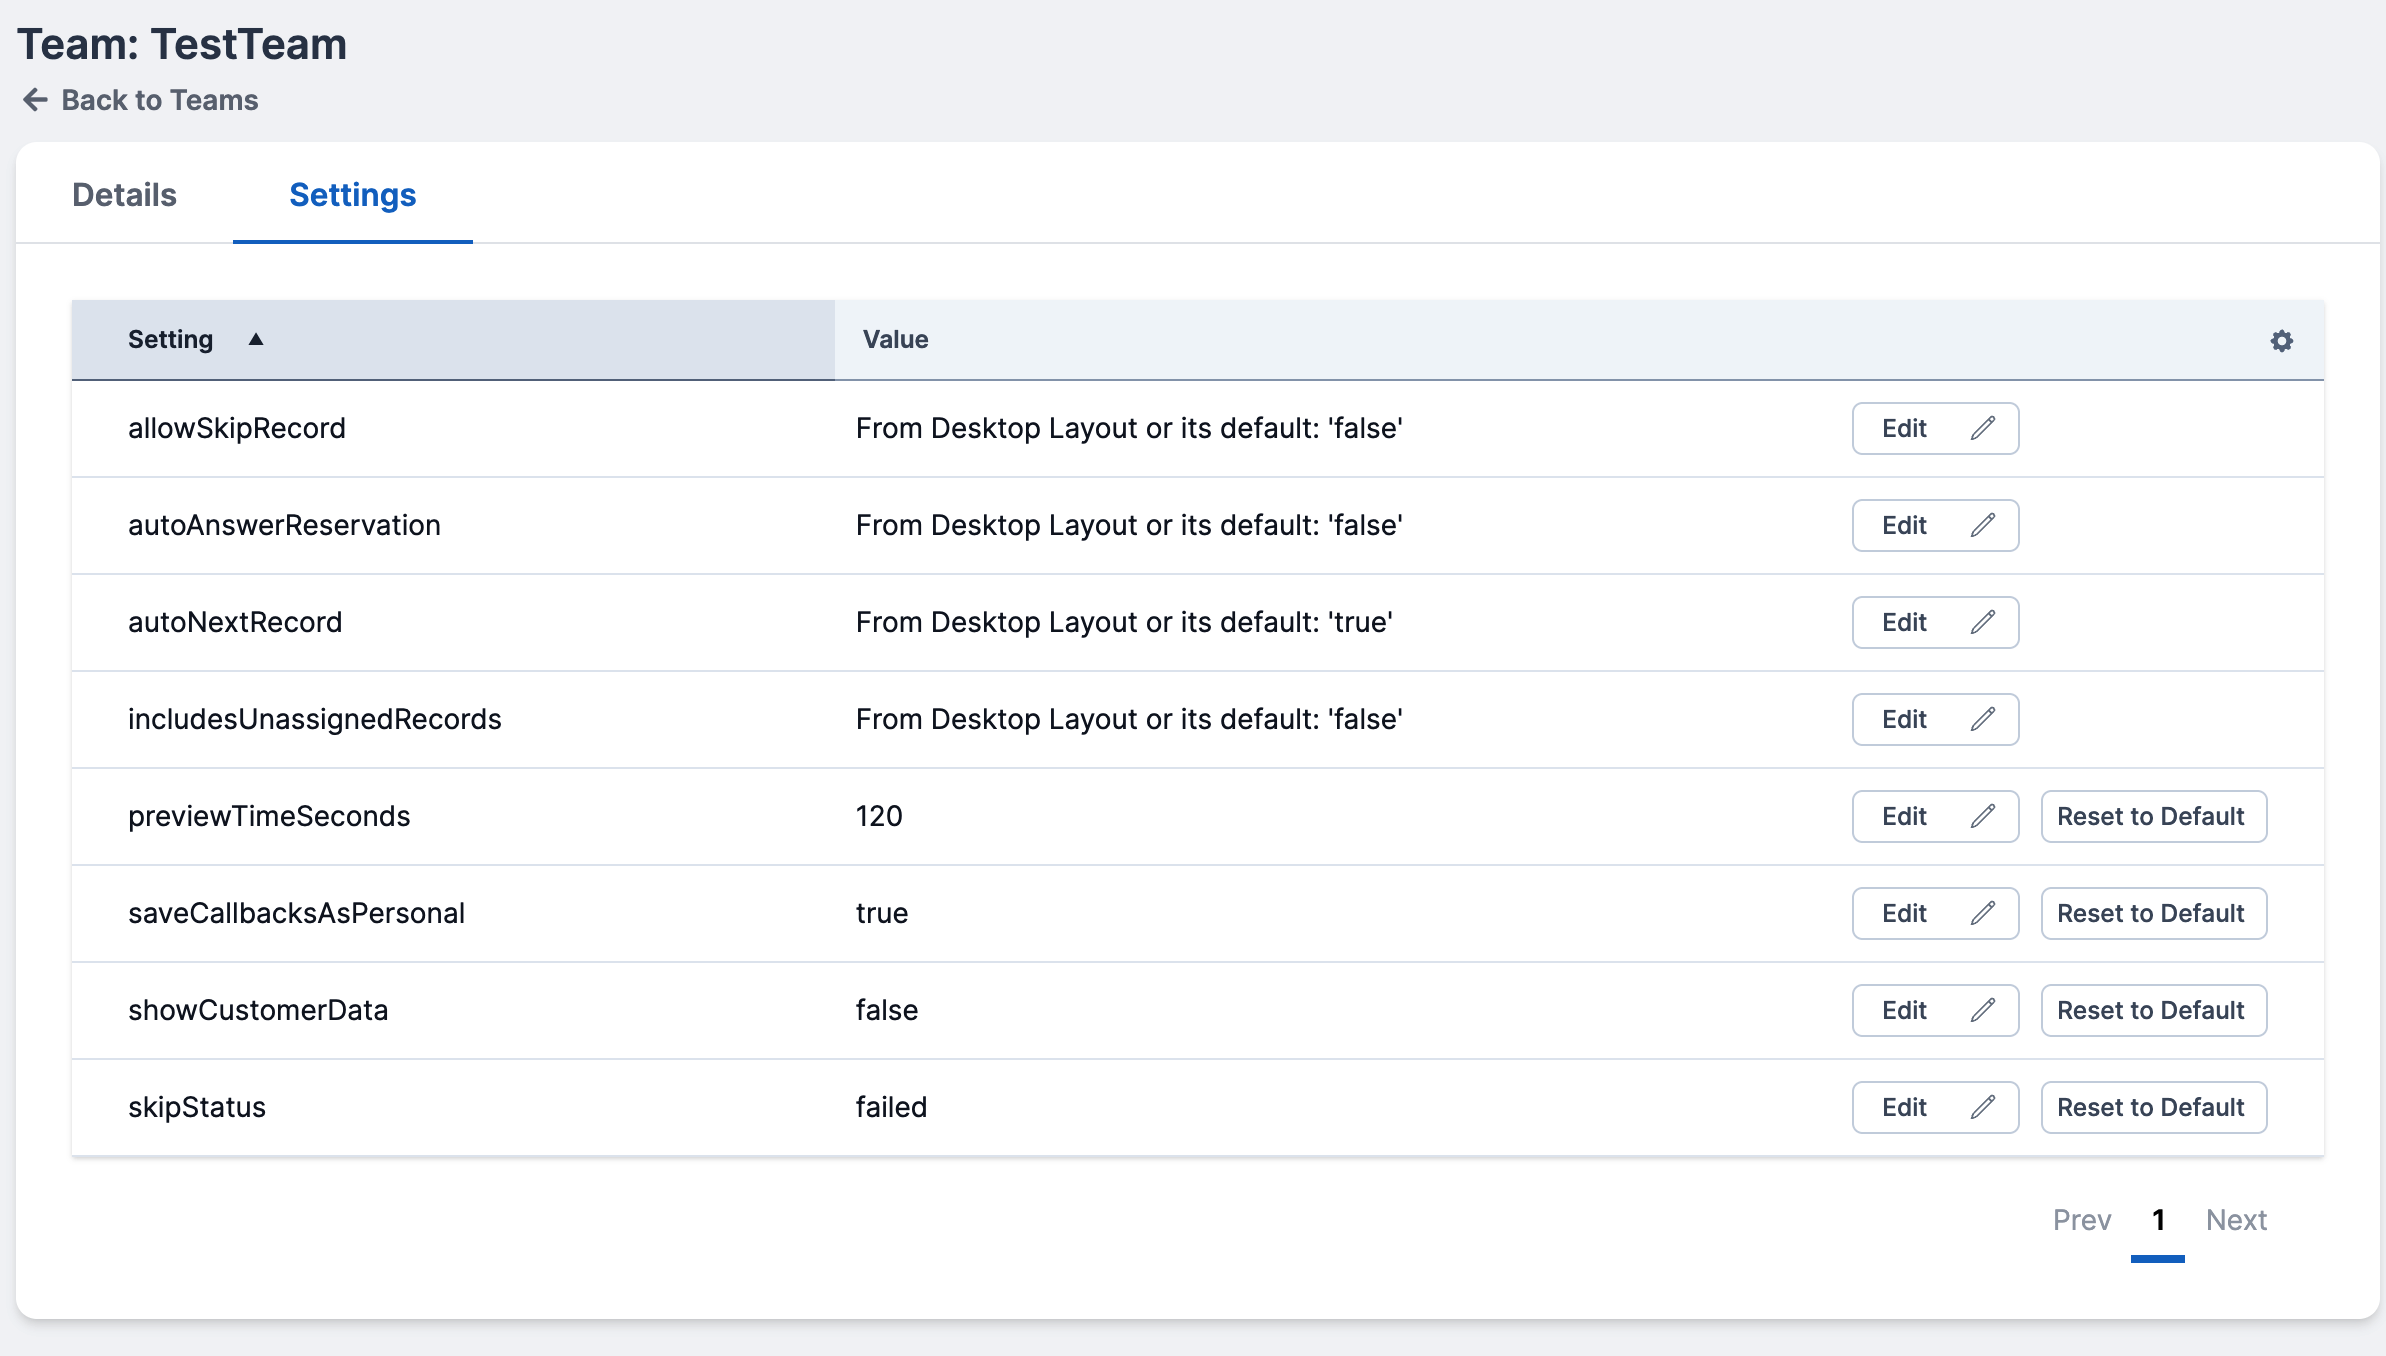
For editing a team setting click the Edit button on the respective row. A new modal window will appear, there you need to input or select the desired value.
For resetting a team setting to its default value click the Reset Default button on the respective row.
Best Practices
- Use the Desktop layout widget settings to define the shared and less prone to change settings.
- Use the Team settings to be more specific, and define the settings that change more frequently.
- If setting the Desktop layout widget value is difficult for you, try using the Team setting instead.